Skip to content
Instructions:
- Prepare a boiling water bath canner and keep 8 half-pint jars hot until ready to fill.
- Wash and sort the blackberries, removing any stems, leaves, or damaged berries.
- Lightly crush the berries in a large stainless steel pot.
- Stir in the bottled lemon juice and bring the berry mixture to a boil over medium-high heat.
- Add the granulated sugar all at once, stirring constantly until it has completely dissolved.
- Bring the mixture to a full rolling boil that cannot be stirred down.
- Continue boiling hard, stirring frequently, until the jam reaches the gel stage, about 10 to 15 minutes. Test for doneness using your preferred gel test if desired.
- Remove the pot from the heat and skim off any foam for a clearer finished jam.
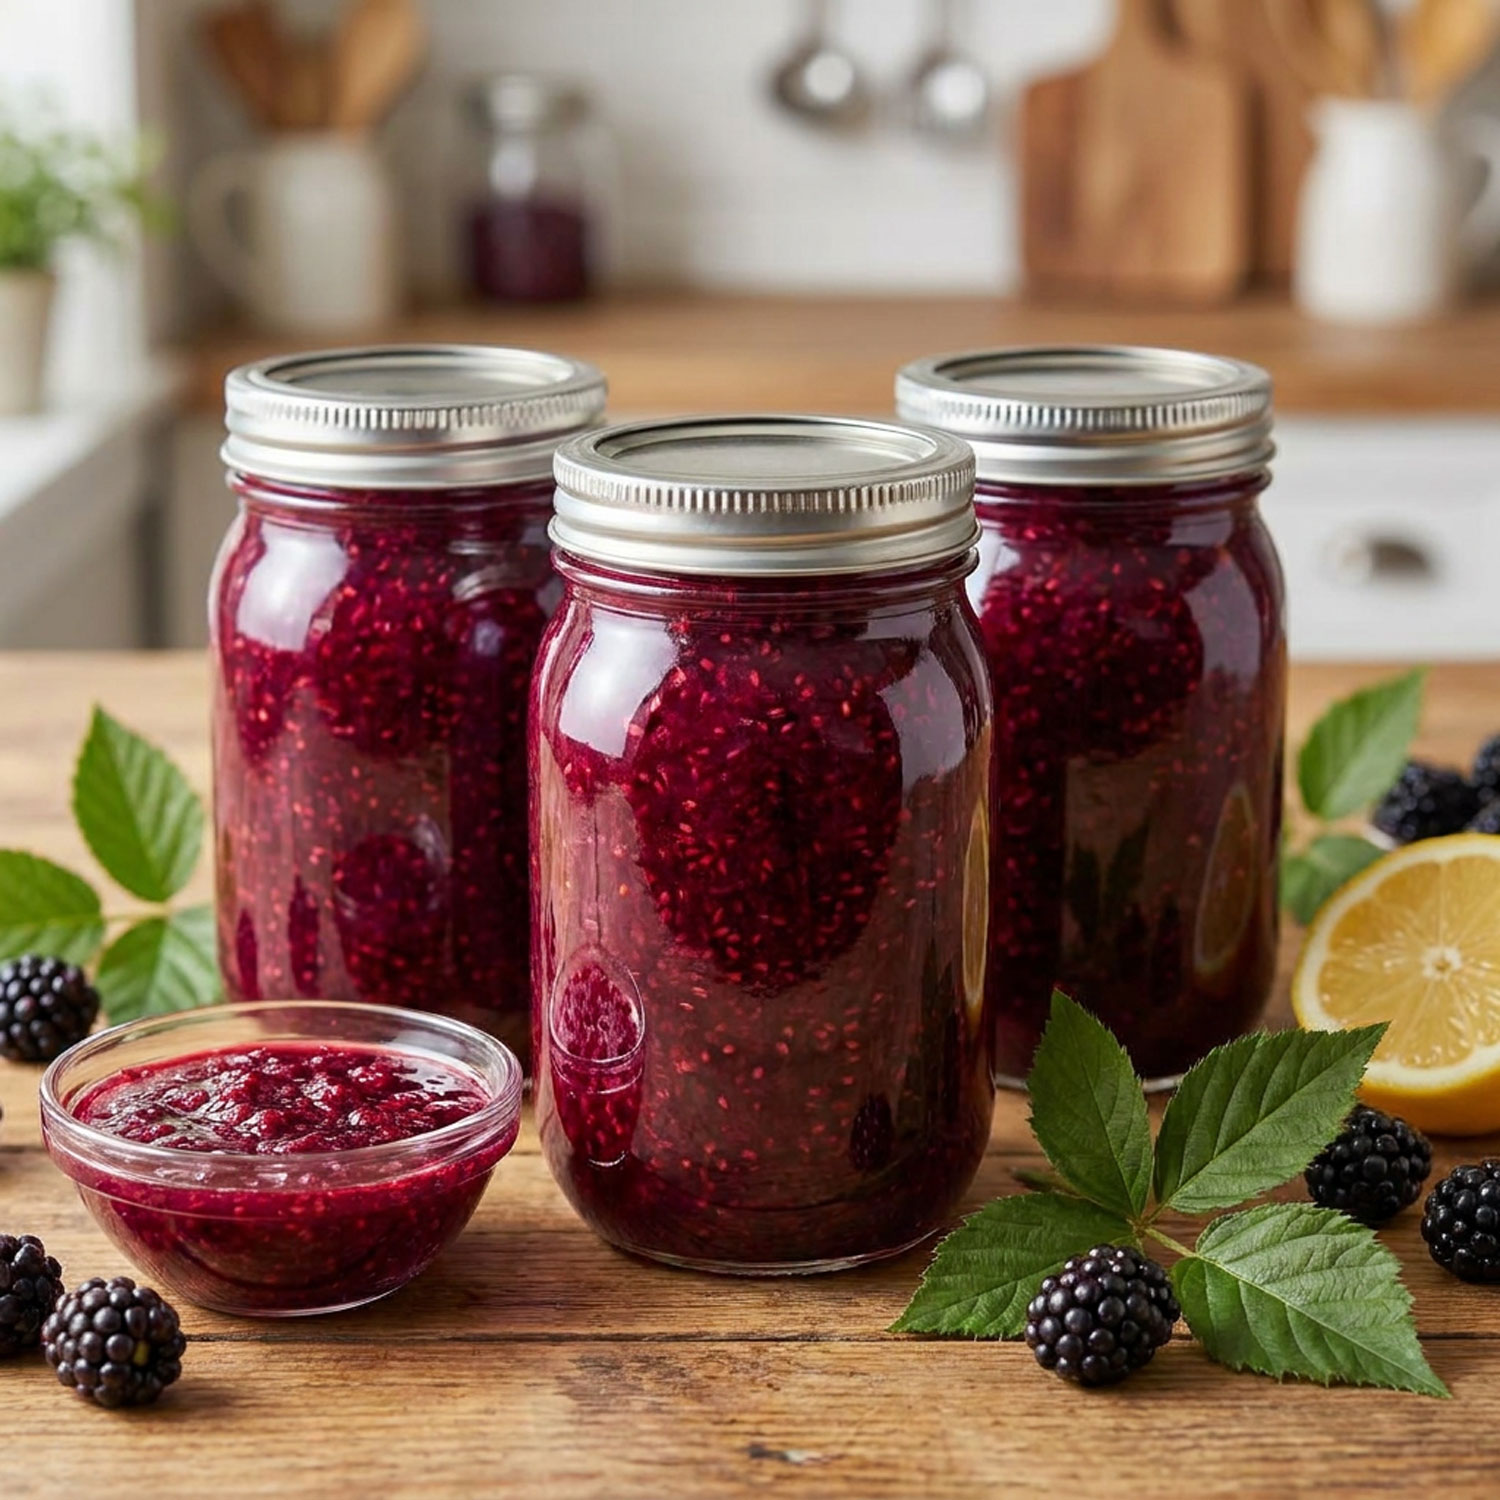
- Ladle the hot jam into the prepared hot jars, leaving ¼-inch headspace.
- Remove any trapped air bubbles using a non-metallic utensil. Adjust the headspace if necessary, then wipe the jar rims clean.
- Apply the lids and screw bands until fingertip tight.
- Process the jars in a boiling water bath:
- Half-pint jars: 10 minutes
- Pint jars: 15 minutes
- Adjust processing times according to your altitude if necessary.
- Carefully remove the jars and allow them to cool undisturbed for 12 to 24 hours. Verify that each lid has sealed properly before storing in a cool, dark place.
Variations
- Press the crushed berries through a fine-mesh sieve or food mill before cooking for a smooth, seedless jam.
- Add 1 teaspoon of vanilla extract after opening a jar for a rich dessert-style flavor.
- Stir in a pinch of ground cinnamon for a subtle warm spice note.
- Mix blackberries with raspberries or blueberries for a delicious mixed berry jam, using a tested recipe.
- Use the finished jam as a glaze for roasted pork, grilled chicken, or baked brie.
Tips
- Use fully ripe, firm blackberries for the best flavor, color, and natural pectin.
- Cook the jam in a wide, heavy-bottomed pot to encourage faster evaporation and even cooking.
- Stir frequently during the final boil to prevent scorching.
- A chilled plate or spoon test is a simple way to check whether the jam has reached the proper gel stage.
- Leave the recommended ¼-inch headspace to help ensure a proper seal during processing.
- Label each jar with the canning date and store in a cool, dark pantry for the best quality.
- Once opened, refrigerate the jam and enjoy it within 3 to 4 weeks.
- For the freshest flavor, allow the jam to rest for 1 to 2 weeks before opening so the texture and flavor can fully develop.