Skip to content
Instructions:
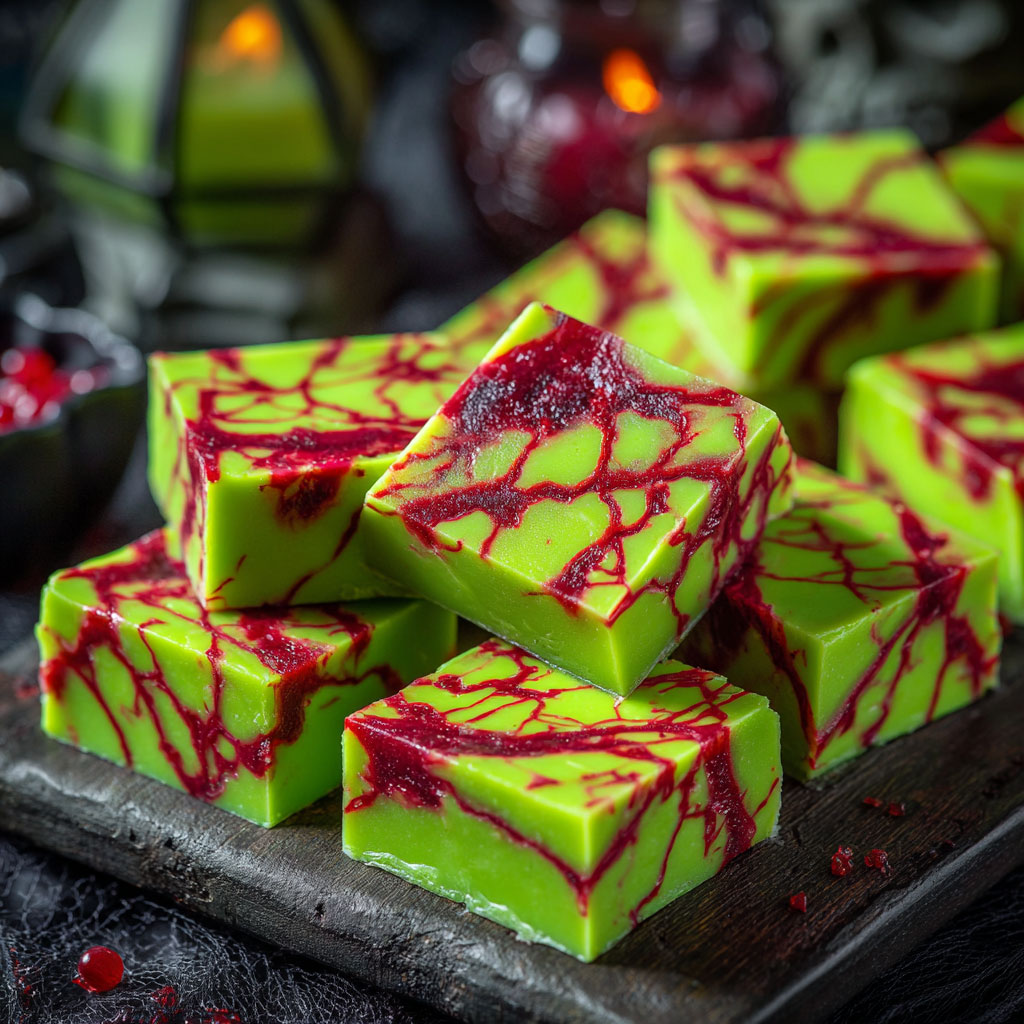
- Line an 8×8-inch baking dish with parchment paper.
- In a saucepan over low heat, melt together the white chocolate chips, sweetened condensed milk, and butter until completely smooth. Stir in the vanilla extract.
- Add green gel food coloring to the mixture and blend until you reach a bright zombie-green hue.
- Pour the green fudge into the prepared dish and smooth the surface evenly.
- Warm the raspberry jam slightly in the microwave, then stir in a drop or two of red gel food coloring for a vivid, bloody effect.
- Drizzle the jam over the fudge, then use a knife or skewer to swirl it through the surface, creating a veiny, marbled pattern.
- Chill for at least 2 hours, or until the fudge is firm enough to cut. Slice into squares and serve chilled or at room temperature.
Variations
- Flavor Swap: Add a drop of mint or almond extract for a subtle twist that pairs beautifully with the white chocolate.
- Darker Veins: For a scarier look, mix in a bit of black gel coloring with the red jam for deeper, shadowy veins.
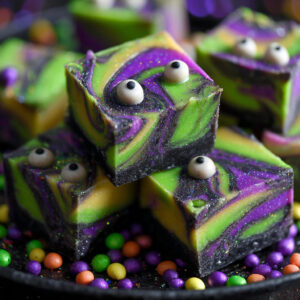
- Crunchy Texture: Sprinkle crushed cookies or candy eyeballs on top before chilling for a spookier texture contrast.
- Vegan Option: Use dairy-free white chocolate and coconut condensed milk for a plant-based version.
Tips
- Always melt the chocolate over low heat to prevent it from seizing or becoming grainy.
- Use gel food coloring instead of liquid for more vibrant color without affecting the fudge’s texture.
- For cleaner swirls, use the tip of a skewer and drag lightly through the jam—don’t overmix, or you’ll lose the vein pattern.
- Store the fudge in an airtight container in the refrigerator for up to a week, or freeze it for longer storage.
- For a dramatic presentation, drizzle extra red jam over the top just before serving—it’ll look like fresh “zombie blood” seeping through each bite.