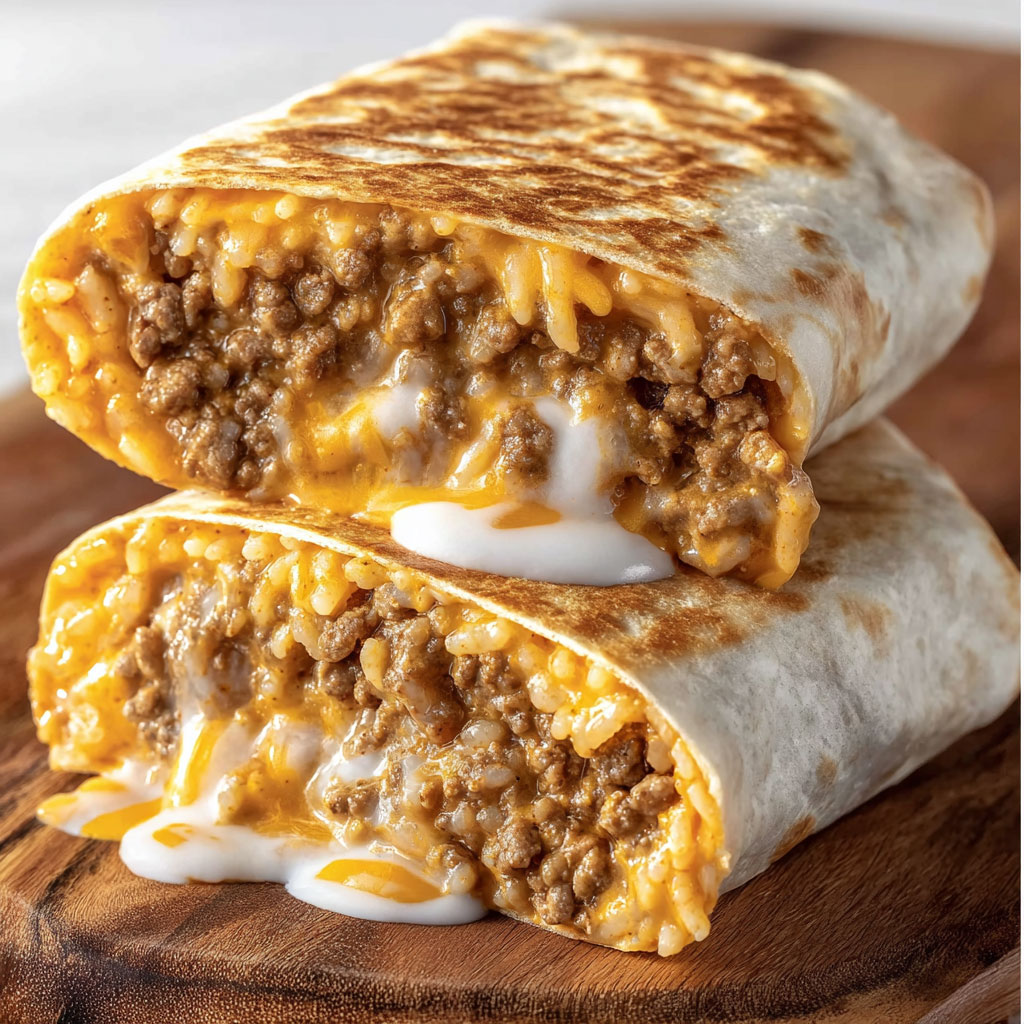
If you’ve ever had the Quesarito from Taco Bell, you know it’s more than just a burrito. It’s a melty, saucy mashup of a cheese quesadilla and a loaded burrito, and this homemade version delivers all the crave-worthy flavors with fresh, customizable ingredients. It’s comfort food at its most indulgent, and once you try it, you might never go back to the drive-thru.
The key to a good Quesarito is layering: a gooey cheese quesadilla forms the outer shell, wrapped around seasoned beef, spiced rice, nacho cheese, and a smoky chipotle cream sauce. The result is a warm, handheld meal packed with bold flavor, contrasting textures, and cheesy richness in every bite.
Whether you’re making this for a weekend treat, a family dinner, or just to satisfy a late-night fast food craving, this Quesarito recipe delivers. It’s also easy to adapt with your favorite proteins, cheese blends, or heat levels depending on your mood.
This version uses simple pantry ingredients and takes just 30 minutes to pull together. Make a batch and serve with extra chipotle sauce, guacamole, or even a squeeze of lime for a fresh twist. The best part? You can prep the beef, rice, and sauce ahead of time and assemble when ready to eat.
Servings and timing:
Yield: 4 servings
Total Time: 30 minutes
Ingredients:
ADVERTISEMENT
For the beef:
- 1 pound ground beef
- 1 packet taco seasoning
- ½ cup water
For the seasoned rice:
- 1 cup cooked white rice
- ½ teaspoon chili powder
- ¼ teaspoon paprika
- Salt to taste
For the creamy chipotle sauce:
- ½ cup sour cream
- 1 tablespoon mayonnaise
- 1 teaspoon chipotle chili powder (or chipotle sauce)
- ¼ teaspoon garlic powder
- ¼ teaspoon cumin
- Pinch of salt
Other:
- 8 medium flour tortillas (4 for wraps, 4 for quesadilla layers)
- 1½ cups shredded cheddar cheese
- 1 cup shredded mozzarella or Mexican blend cheese
- ½ cup nacho cheese sauce (store-bought or homemade)
- Butter or oil for toasting
Instructions:
See Next Page =>