Skip to content
Instructions:
- Preheat your oven to 400°F (200°C) and lightly grease a deep 9-inch pie dish with butter or nonstick spray to prevent sticking.
- Remove and shred about 3 cups of meat from the Costco rotisserie chicken, discarding bones and skin for a tender, flavorful filling.
- Heat 2 tablespoons of butter in a large skillet over medium heat until it gently bubbles, then add the finely diced onion.
- Sauté the onion for 4–5 minutes until softened and translucent, which enhances sweetness and depth.
- Add the frozen mixed vegetables to the skillet and cook for 3–4 minutes to start thawing and warming them through evenly.
- Pour in the condensed cream of chicken soup, chicken broth, whole milk, and sour cream, stirring constantly until the mixture thickens into a creamy sauce.
- Season with garlic powder, onion powder, dried thyme, black pepper, and salt, and stir for 2–3 minutes to fully blend the flavors and aroma.
- Fold the shredded chicken into the creamy vegetable mixture, coating each piece thoroughly for balanced flavor in every bite.
- Simmer the filling gently on low heat for 2–3 minutes, stirring occasionally, then remove from heat and let it cool slightly before assembling the pie.
- Unroll one pie crust and press it evenly into the prepared pie dish without stretching, to prevent shrinkage during baking.
- Fill the crust with the creamy chicken and vegetable mixture, spreading it into an even mound to ensure consistent baking.
- Cover the filling with the second pie crust, trim excess dough leaving a ½-inch overhang, then crimp edges tightly to seal and prevent leaks.
- Cut 4–5 small slits into the top crust to allow steam to escape, avoiding soggy pastry while baking.
- Brush the top crust and edges with an egg wash made from one beaten egg and a tablespoon of water for a glossy, golden finish.
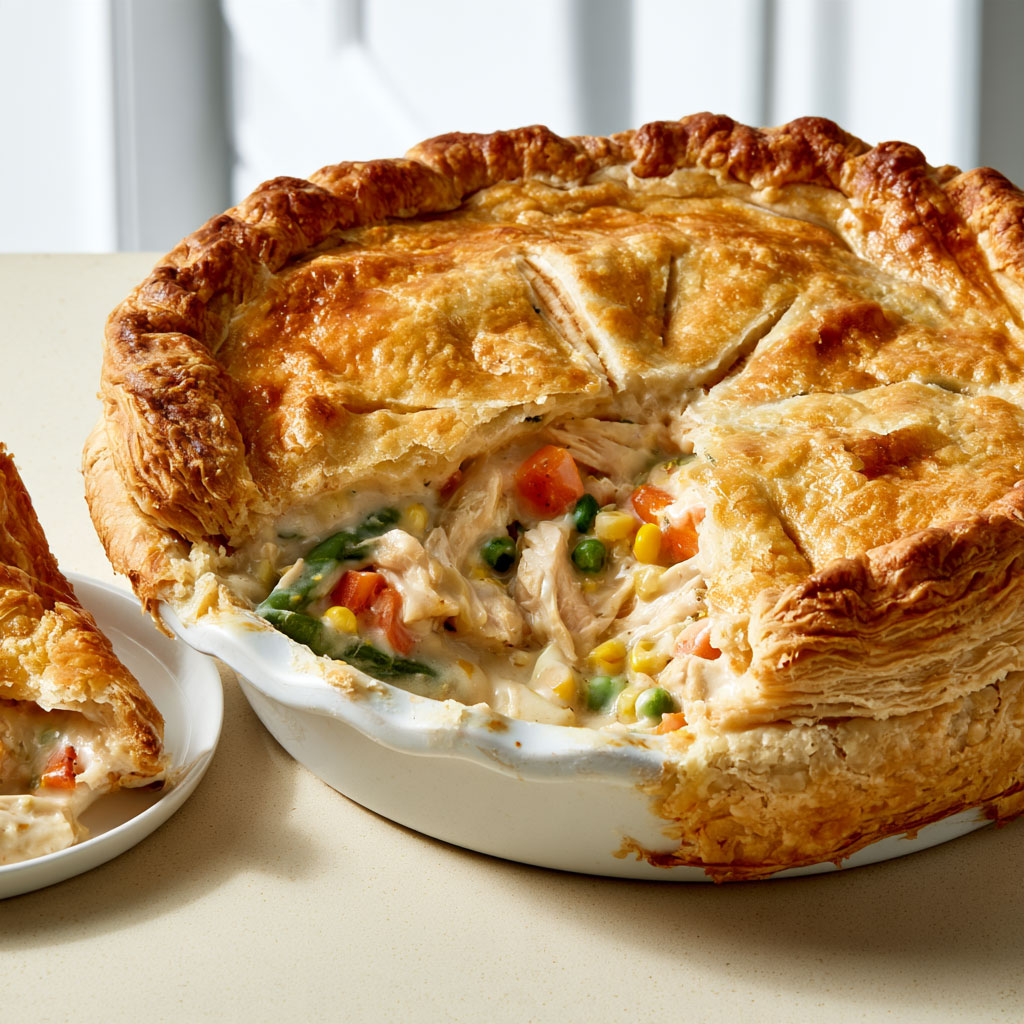
- Place the pie on a baking sheet to catch any drips, then bake for 35–40 minutes until the crust is golden brown and flaky.
- If the edges brown too quickly, cover them loosely with foil to prevent burning while the center finishes baking.
- Ensure the filling bubbles and reaches an internal temperature of 165°F (74°C) to guarantee food safety.
- Remove from the oven and let the pot pie rest on a wire rack for 10–15 minutes; this thickens the filling for easier serving.
- Slice into 6 generous wedges and serve warm for a comforting meal.
Variations
- Use pre-cooked turkey or leftover roast chicken instead of rotisserie for a different protein option.
- Substitute frozen mixed vegetables with fresh seasonal vegetables like broccoli, mushrooms, or zucchini for added freshness.
- Swap the cream of chicken soup for a homemade white sauce to reduce sodium and customize creaminess.
- Replace sour cream with Greek yogurt for a tangier taste and extra protein.
- Try a puff pastry sheet instead of refrigerated pie crusts for an even flakier, lighter topping.
- Add fresh herbs like parsley or rosemary to the filling for a fragrant twist.
Tips
- Store leftover pot pie tightly covered in the refrigerator for up to 3 days to maintain freshness.
- Reheat individual servings in the oven at 350°F (175°C) for about 15 minutes to restore crispiness to the crust.
- You can freeze the assembled but unbaked pie for up to 2 months; thaw overnight in the fridge before baking.
- Allowing the filling to cool slightly before assembling prevents the crust from becoming soggy.
- If you prefer a thicker filling, reduce the amount of chicken broth slightly before baking.
- Use a baking sheet to catch spills and keep your oven clean during baking.
- Check the internal temperature of the pot pie to ensure it reaches 165°F (74°C) for safe consumption.