Skip to content
Instructions:
- Line a 9×13-inch baking sheet with parchment paper, leaving some overhang on the sides to make it easy to lift the bark out once set. Ensure the parchment is smooth so the chocolate base is even.
- Place the peppermint candy canes in a resealable plastic bag and crush them with a rolling pin until you have a mixture of small chunks and fine candy dust. Set aside.
- Microwave the semisweet or dark chocolate in a microwave-safe bowl using 20 to 30-second bursts, stirring thoroughly between each interval, until fully melted, smooth, and glossy. This prevents overheating.
- Pour the melted dark chocolate onto the prepared pan, then spread evenly into a rectangular layer about 1/4 inch thick using an offset spatula or the back of a spoon.
- Gently tap the pan on the countertop to release any air bubbles, creating a smooth surface for a professional finish.
- Refrigerate the pan for 5 to 8 minutes until the dark chocolate is firm but still slightly tacky; this slight tackiness helps the white chocolate layer adhere properly.
- While the dark chocolate chills, melt the white chocolate in a separate microwave-safe bowl in 15 to 20-second intervals, stirring frequently to avoid burning since white chocolate is delicate.
- Let the white chocolate cool just enough to remain warm and fluid but not hot, which ensures easier spreading without melting the dark chocolate beneath.
- Carefully spoon the white chocolate over the partially set dark chocolate and gently spread it into an even layer, taking care not to disturb the dark layer underneath.
- Immediately sprinkle the crushed peppermint pieces evenly over the soft white chocolate to create a festive look with both chunks and fine dust.
- Press the peppermint pieces lightly into the white chocolate using clean fingers or the back of a spoon so they stick securely as the bark sets.
- Return the pan to the refrigerator and chill for 45 to 60 minutes until both chocolate layers are completely firm and set.
- Once fully chilled, lift the bark out of the pan using the parchment paper overhang and place it on a cutting board.
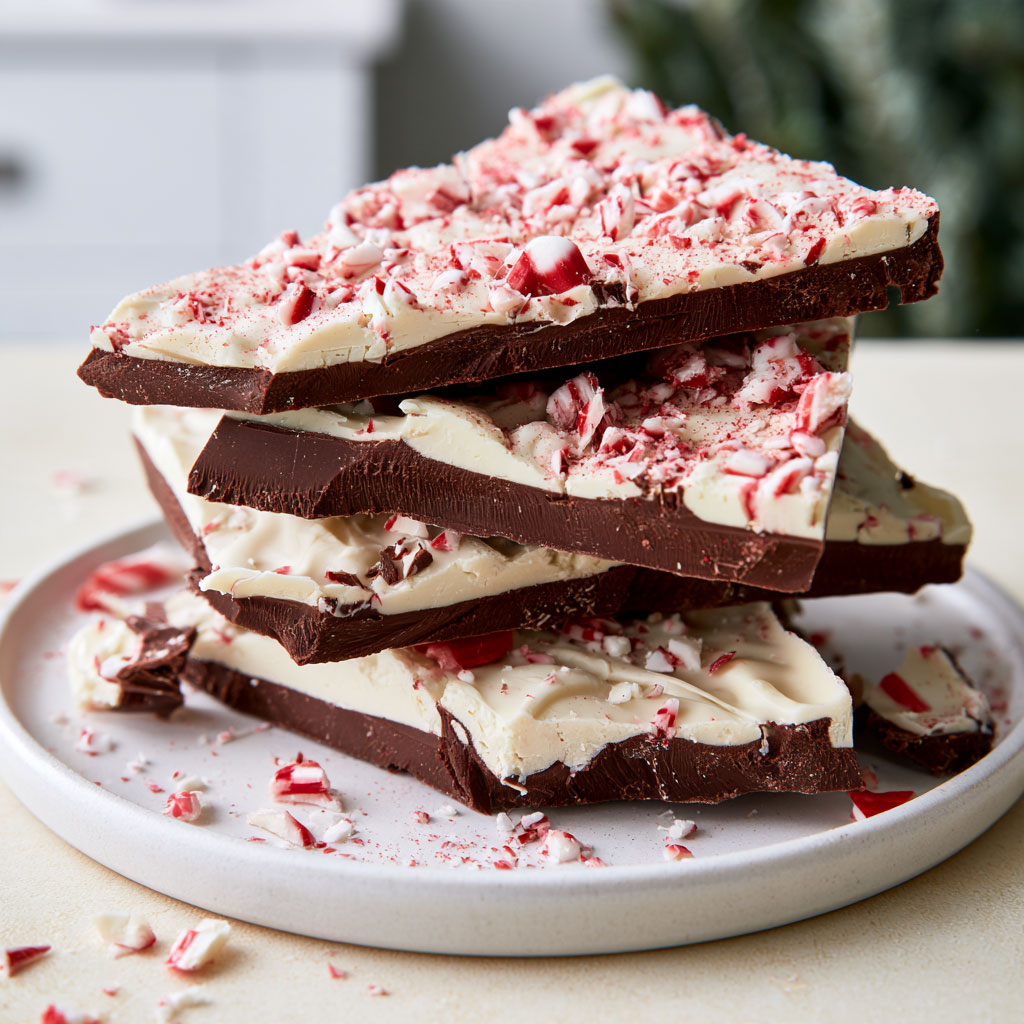
- Break the bark into irregular pieces of various sizes by hand, showcasing the contrast between the dark chocolate base, creamy white chocolate top, and crunchy peppermint bits.
- Serve immediately or store in an airtight container in a cool, dry spot to preserve freshness and texture.
Variations
- Use milk chocolate instead of semisweet for a sweeter, creamier base layer.
- Add a sprinkle of sea salt on top of the white chocolate before adding the peppermint for a sweet-salty twist.
- Mix crushed dark chocolate-covered espresso beans into the peppermint for a subtle coffee flavor.
- Replace peppermint candy canes with crushed toffee or caramel bits for a different crunchy topping.
- Drizzle melted milk or dark chocolate over the set peppermint bark for a decorative finish.
- Incorporate a few drops of peppermint extract into the white chocolate for a stronger mint flavor.
Tips
- Use good-quality baking chocolate rather than chocolate chips for smoother melting and a polished finish.
- Be careful not to overheat the white chocolate; melt it gently in short intervals with frequent stirring to avoid burning.
- Store peppermint bark in an airtight container at room temperature in a cool, dry place; it will keep fresh for up to two weeks.
- If your kitchen is warm, refrigeration helps maintain firmness, but bring the bark to room temperature before serving for the best texture.
- Once opened, consume the bark within a week to enjoy optimal freshness and peppermint crunch.
- For gifting, arrange pieces in decorative boxes lined with parchment paper and tie with festive ribbons for an elegant presentation.
- Tempering the chocolate before melting will give your bark a glossy finish and a firm snap that holds up well outside the fridge.